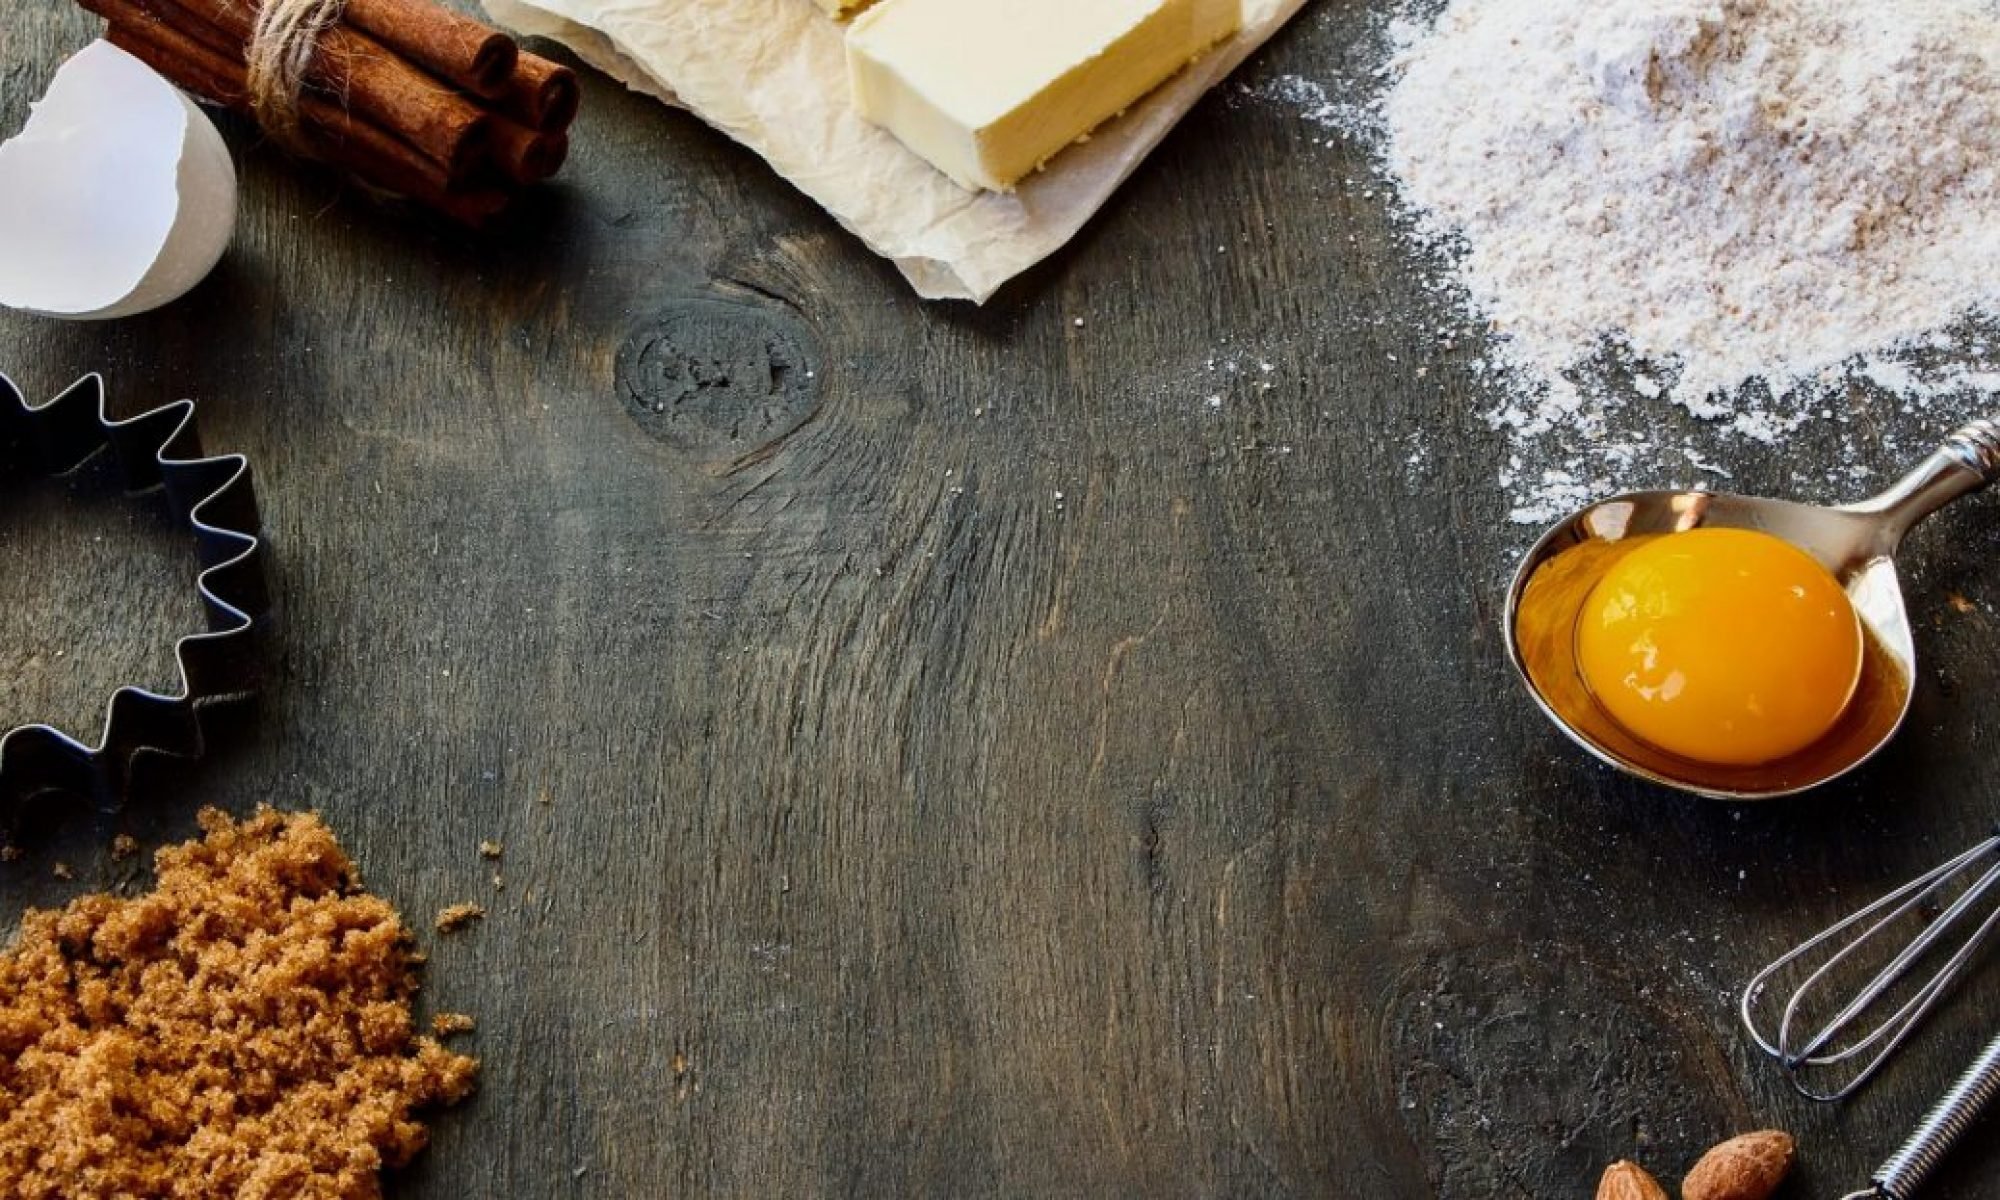
Whether it’s Sunday morning or a holiday, there’s nothing like waking up to gluten free apple turnovers, on a fall or winter morning. It is especially satisfying if you haven’t indulged in a turnover in some time. The flaky, buttery gluten free puff pastry is a delight of my gluten-eating husband and readers. Bet you can’t eat just one!

These traditional gluten free apple turnovers are tender and flaky, filled with either homemade apple filling or canned. Even gluten-eaters beg for more.
Ingredients:
- While you can make a homemade filling, I used a gluten free pie filling for the sake of time and ease with my busy schedule. Feel free to use either. I list both choices.
- 1 recipe Gluten Free Puffed Pastry
- 1 large egg yolk, for egg wash
- 1 tablespoon whole milk, for egg wash
- Potato or corn starch, for dusting
- Sanding sugar*, for dusting (large grain sparkling sugar) (King Arthur) (optional)
- 2 tablespoons lemon juice
- 4 cups water
- 4 Granny Smith apples - peeled, cored and sliced
- 2 tablespoons butter
- 1 teaspoon ground cinnamon
- 1 tablespoon cornstarch
- 1 tablespoon water
Instructions:
- Place the lemon and 4 cups water into a large bowl; whisk together. Place the sliced apples in the water to prevent browning.
- Melt the butter in a large skillet over medium heat.
- Using a collander, drain the water from the apples. Transfer them to the melted butter. Cook for 2 minutes, stirring often.
- Add the brown sugar and cinnamon; cook, stirring constantly, for 2 additional minutes.
- Whisk together the cornstarch and 1 tablespoon of water. Pour this slurry on top of the cooked apples in the skillet; stir to combine. Increase heat to medium-high, stirring constantly, until thicken, about 1 minute. Remove from heat and allow to cool for about 10 minutes or refrigerate, covered, if making a day in advance.
- Make the puff pastry recipe according to the instructions at the above link.
- Line a baking sheet with parchment paper or a silicone mat; set aside. (If baking the full batch at one time, you will need additional baking sheets. Just be sure to use cold baking sheets. If you only have one, place it in the freezer or the refrigerator to cool quickly between batches.)
- In a small bowl, whisk together the egg yolk and milk. Store this egg wash in the refrigerator until ready to use.
- Generously dust a rolling surface with our choice of starch. Transfer the dough to the rolling surface. Unfold the puff pastry dough and cut into thirds. Refrigerator two pieces wrapped in plastic wrap or in an airtight container. (I use a casserole dish that has a lid.
- Using a rolling pin, pound out one sheet of dough. At this point, do not roll out the dough. (This prevents the thin layers from cracking.) Roll dough out to 1/8 to 1/4-inch thick. Trim off uneven edges of dough and cut into triangles, squares., or even rectangles.
- Brush the edges with egg wash. (You only need to brush the egg wash on one side. As long as you have egg wash on the top or bottom sides that will meet, it is sufficient.) Add some filling in the center of a triangle or square and fold one corner over, to meet the opposite corner. Press down to seal. Crimp edges with a fork if desired. At this point, you can freeze some. Just wrap them in plastic wrap and then in aluminum foil.
- If baking them immediately, refrigerate uncovered for 20 minutes.
- Repeat rolling and folding process with the remaining two sheets of dough or freeze the dough tightly wrapped in plastic wrap and then aluminum foil or in an airtight container for future use. (Do not defrost the dough and refreeze.)
- Preheat the oven to 400°F.
- Brush the top and sides of the pastry dough with egg wash and sprinkle with sanding sugar.
- Bake canned filling for 18 - 20 minutes or until golden brown. For homemade filling, bake for about 25 minutes; cover with foil when they are brown enough.
- Place a baking sheet underneath a wire rack to catch any drips. Transfer the turnovers to the rack and allow to cool at least 15 minutes prior to serving.
- Unbaked, frozen turnovers keep well for about one month. To bake frozen turnovers, do not defrost them. Instead, place frozen turnovers on a silicone mat or parchment paper-lined baking sheet, brush tops with egg wash and sprinkle with sanding sugar, if using. Bake in a preheated 375ºF oven until thoroughly golden brown and puffy. A sure sign of being done is the filling bubbling out.
Tips
*If using colored sanding sugar, be sure it is gluten free as not all companies use gluten free food coloring.
Allergen Warning: Allergens vary depending upon filling used.


