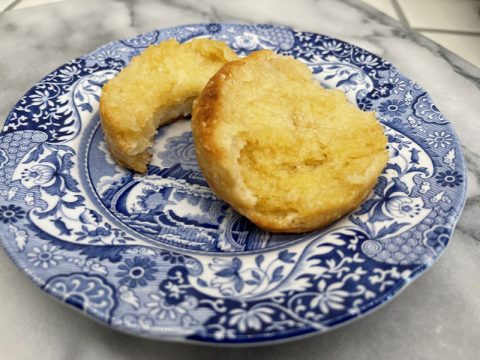
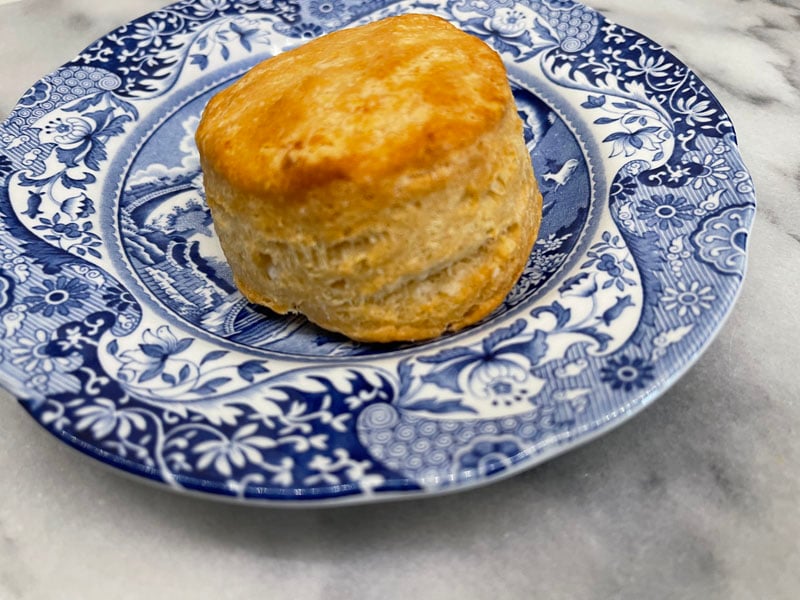
Previously, the most success I have had making gluten free biscuits is by adding egg, like in my Fluffy Gluten Free Biscuits Recipe. Today, I developed this gluten free yeast biscuits recipe that turned out just as good. A matter of fact, this recipe has those amazing, sought-after layers we all aspire to. In addition, this recipe does not call for butter but shortening (I use organic), which makes them a little crisp on the bottom and edges. They were extremely tasty and my gluten-eating husband agrees.
Links You May Need:
Self-Rising Gluten Free Cake Flour Blend
Folding Bread Proofer & Slow Cooker (from my friends at Brod & Taylor)
Gluten Free Yeast Buttermilk Biscuits (Egg-Free)
Flaky layered gluten free yeast biscuits using shortening, without eggs; includes a dairy-free option.
Ingredients
- 1 cup low-fat buttermilk (or gum-free almond milk or rice milk for dairy-free)
- 2 tablespoons low-fat buttermilk (or apple cider vinegar for dairy-free)
- 1/4 cup water
- 2 tablespoons sugar
- 1 tablespoon active dry yeast
- 1 teaspoon salt
- 1 cup brown rice flour not superfine (148 g)
- 1 cup cornstarch 124 g
- 1/2 cup potato starch 72 g
- 2 teaspoons xanthan gum
- 2 teaspoons baking powder
- 1 teaspoon baking soda
- 1/2 cup shortening (Spectrum organic)
- Gluten free all-purpose flour for dusting
Instructions
-
Combine the buttermilk, water, sugar, and salt; heat to between 80 – 110ºF; stir in yeast; set aside until it blooms (becomes foamy).
-
In a medium-size bowl, whisk together the brown rice flour, cornstarch, potato starch, xanthan gum, baking powder, baking soda.
-
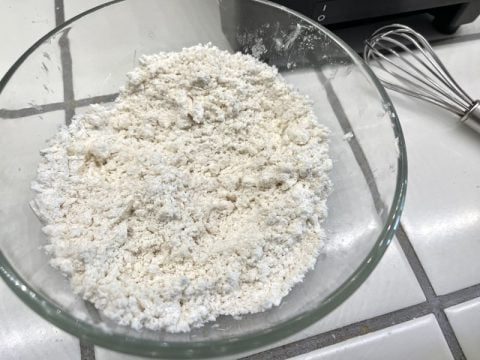
Using a pastry cutter or two knives, cut the shortening into the dry mixture. (Alternatively, smear the shortening into the flour using your fingers. Another option is shred frozen shortening into the flour mixture and lightly smear with your fingers.)
-
Pour in the buttermilk-yeast mixture and fold together using a rubber/silicone spatula. (Do not totally flatten or stir the mixture. You want to handle the dough the least possible to prevent creating tough biscuits. Therefore, just lift the mixture from the bottom of the bowl and bring it to the top and gently pat the top of the dough with the spatula each time. Continue in this manner until there is no longer any loose flour.
-
Cover the bowl with a tea towel and allow to rise in an 80ºF environment for 1 hour.
-
Dust a smooth surface with gluten free all-purpose flour or potato starch. (I used my self-rising cake flour blend (see above link) just because I had a little that I needed to use up.)
-
Scoop the dough onto the floured surface and gently pat out to 1-inch high. Fold the dough in half and gently pat out again. Repeat the folding and patting three more times, being careful not to overhandle the dough. End with 2-inch high dough.
-
Using a biscuit cutter, push down into the dough without twisting the cutter. Withdraw from the dough and push the dough out from the top onto the covered baking sheet, spacing 2-inches from each other. Baste the tops with additional buttermilk or dairy-free milk. Allow the biscuits to rise 30 minutes.
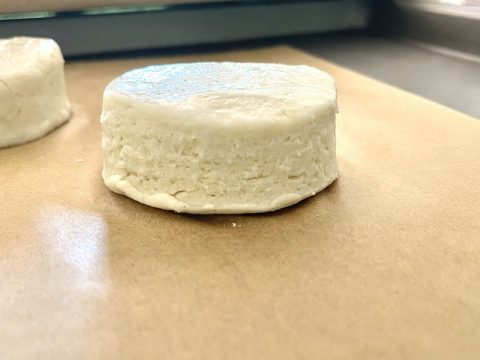
-
After 30 minutes, preheat the oven to 425ºF and allow the biscuits to continue to rise.
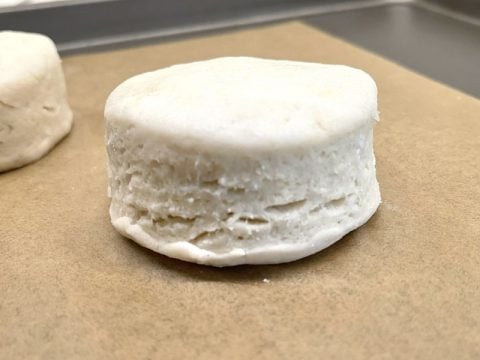
-
Bake for 12 minutes, turning the baking sheet around halfway through.
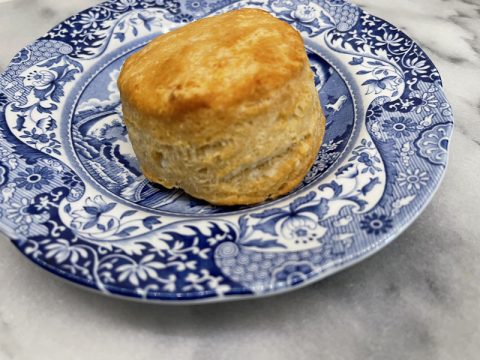
-
Serve immediately, tear open and butter as desired.
