
Besides learning how to make this delicious cake, you also will learn what ingredients to use to avoid red-colored chocolate cakes (or which to use make them red). Then, cover it with this Chocolate Mirror Glaze. Don’t miss the section of converting vanilla cakes to chocolate, too. This is an excellent cake make in advance. When filled and frosted, it only gets better. Refrigerate up to 2-1/2 full days prior to serving in perfect condition and still store leftovers.
Links You May Need:
Carla’s Gluten Free All-Purpose Flour Blend Recipe
Gluten Free Sponge Cake (Vanilla)
The Perfect Homemade Whipped Cream (Chantilly)
Cherry Liqueur Whipped Cream with Homemade Liqueur
Chocolate Mint Swiss Meringue Buttercream (mint optional)
How to Convert a Vanilla Cake to Chocolate
If you look at the recipe for Gluten Free Sponge Cake (the vanilla version), you’ll see that it calls for 1 cup of Gluten Free All-Purpose Flour. To make this chocolate version, all I did was to remove 2 tablespoons of flour and add 4 tablespoons (1/4 cup) of cocoa powder. Therefore, in the future when you want to convert a vanilla or yellow cake to chocolate, use the same ratio as above. Example: If a vanilla/yellow cake calls for 2 cups of flour, you would only use 1-3/4 cup of flour and add 1/2 cup of cocoa powder.
How Many Layers Can I Make Using This Recipe?
As written, the recipe makes a three-layer cake in an 8-inch pan and a single layer in a 10-inch pan. A 9-inch pan creates a medium-sized layer, which is iffy it could slice it in thirds. It would be best as a two-layer cake. I used a single recipe to make an 8-inch pan that is only 7-1/2 inches at the bottom. I have also made a three-layer cake in a 10-inch springform by doubling the recipe and cooking it until it springs back. In my first attempt at making this recipe, I used four 4-inch spring-form pans. I have also used three separate 8-inch pans (one spring-form pan and two standard cake pans), where I used a double recipe to make three separate layers, instead of slicing the layers.
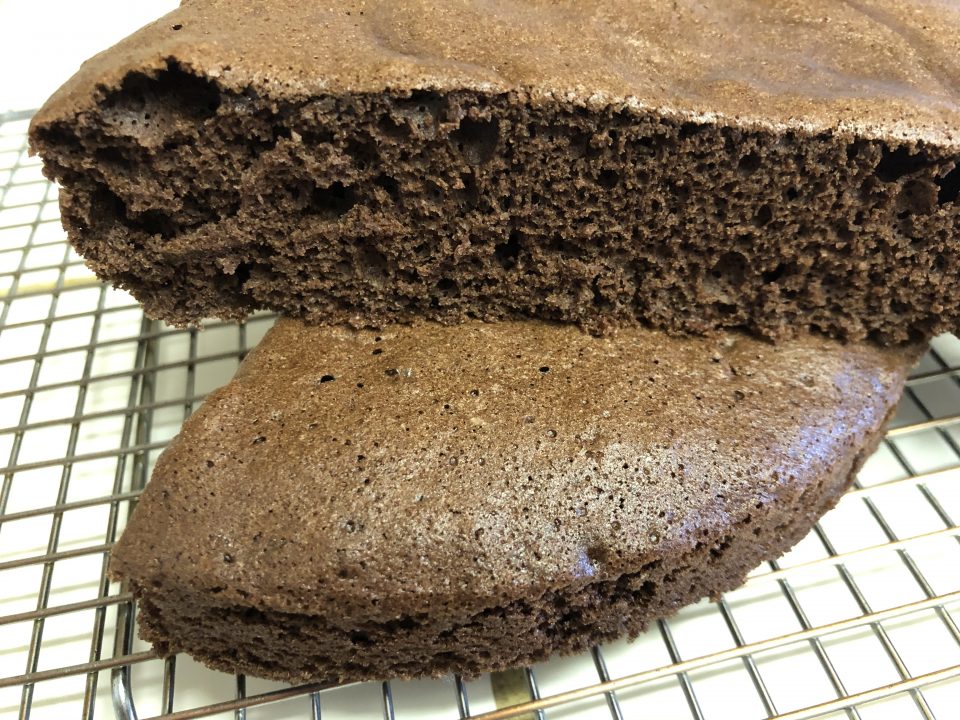
Why Is My Chocolate Cake Red?
Baking soda usually makes chocolate cake red when using Dutch-processed cocoa powder. Omitting the baking soda and replacing it with plenty of baking powder, in addition to using traditional (natural, unsweetened) cocoa powder and buttermilk eliminate that red color.
If you wish to use Dutch processed cocoa, invest in a good brand such as Droste. See the photo below using baking powder and Droste. It is higher in fat than every-day Dutch process cocoa powder, leading to a more moist cake and providing you with more chocolate flavor and a richer color from its high cocoa content.
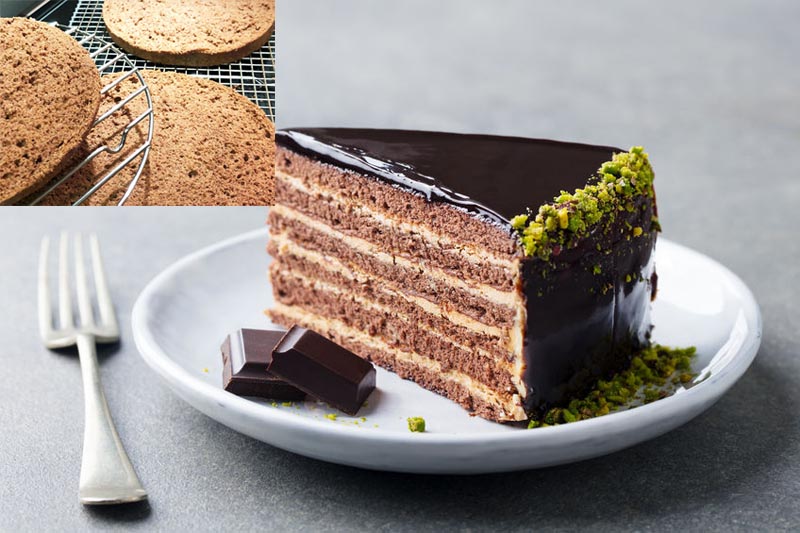
Gluten Free Chocolate Sponge Cake Recipe
This cake is perfection! It is everything you’d want in a gluten free chocolate sponge cake recipe: easy to make, perfect texture, and flavorful.
Ingredients
- 1 cup granulated sugar (or organic for vegan)
- 4 large eggs* at room temperature, separated
- 1/4 cup + 1 tablespoon boiling water
- 1 teaspoon pure vanilla extract
- 3/4 cup + 2 tablespoons Carla’s Gluten Free All-Purpose Flour Blend (see above recipe link)
- 1/4 cup Dutch-processed cocoa powder (or unsweetened natural cocoa powder)
- 1-3/4 teaspoons gluten free baking powder (Rumford)
- 1/16 teaspoon salt (up to 1/8 teaspoon)
Instructions
-
Oil an 8 to 10-inch springform pan or four 4-inch springform pans or even three separate 8-inch pans. (See above paragraph for size pans.) Then, line the bottom with parchment paper and oil the top of the paper. Preheat the oven to 350°F.
-
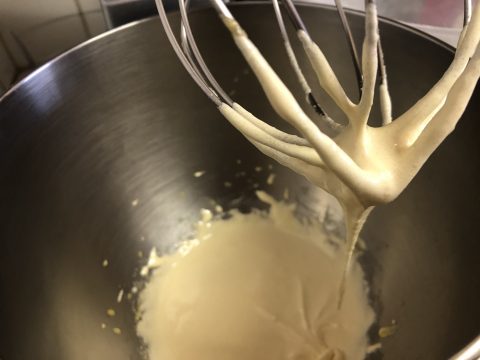
In the bowl of your mixer, beat the sugar and egg yolks on medium speed for about 2 minutes, scraping the bowl if needed. Little pebbles of sugar-yolk will form. Beat past this point until a creamy light yellow mixture forms.
-
Pour in the boiling water a tiny bit at a time, over about 90 seconds, with mixer running on medium; allow to cool for 2 minutes.
-
While the mix is cooling, sift together the all-purpose flour blend, cocoa, baking powder, and salt onto a sheet of wax paper or parchment paper; set near the mixer.
-
Stir the vanilla extract into the egg-sugar mixture and beat on low speed.
-
Add about 3 tablespoons of the dry mixture at a time into the mixing bowl by cradling the sifted mixture and allowing it to slide into the mixing bowl. Beat on low speed after each addition until smooth, scraping sides as needed.
-
Using a clean mixing bowl and beater(s), (I like to use my hand blender fitted with the whisk attachment) whip the egg whites on high speed until they reach firm, stiff peaks. (The length of time varies on the power of your mixer and the temperature of your eggs: 1-1/2 to 3 minutes.
-
Using a silicone/rubber spatula, gently fold one-third of the whipped egg whites into the cake batter until no streaks remain. Repeat with remaining egg whites one-third at a time. (Over mixing will result in a heavy cake as you are popping many of the air bubbles.)
-
Pour the batter into the prepared pan(s) and smooth out the top(s). (Do not tap the cake pans on the counter or shake to even out the batter, as this will cause the air bubbles to surface or pop).
-
Bake a single recipe in 4-inch pans for 25 minutes. Bake a single recipe in an 8-inch pan for about 33 minutes. Bake half a recipe in an 7-inch pan fried 28 minutes. Bake a double recipes a 10-inch springform pan for 25 – 33 minutes. ***No matter which version you make, bake the cakes until they spring back when pressed lightly with your fingertips and the cake moves away from the sides of the pan.
-
Remove the cake(s) from the oven and allow them/it to cool for 10 minutes in the pan while resting on a wire rack. The cake will continue to move away from the sides of the pan.
-
Using a knife or small spatula, loosen any stuck-on cake from the springform ring and remove the ring.
-
Oil a wire rack and invert the cake(s) onto the rack. Remove the bottom of the pan as well as the parchment paper. Allow the cake(s) to cool completely, upside down. You may reinvert the cake halfway through cooling or sooner.
-
Once cool, if desired, slice each layer in three layers (or two), horizontally, using a serrated knife, using a sawing motion. (To do this easily, slice into the cake about 1-inch all the way around. Then, wrap waxed dental floss or cotton string into the crevices. Criss-cross the ends and pull in opposite directions until the entire cake is sliced in half or thirds (whatever you’re striving for).
-
To prevent crumbs from mixing in with your filling or frosting, wrap each layer in plastic wrap and refrigerate for 2 hours or cold all the way through. Then, if you wish to slice the layers in half once more, making a four or six-layer cake, slicing them when they are chilled prevents the layers from crumbling apart.
-
If freezing unassembled layers, defrost at room temperature 1 – 2 hours, depending upon the size and room temperature.
-
Add your filling(s) of choice between each layer and top with your favorite topping or frosting.
-
Sponge cake may be served immediately and even frozen assembled, but once filled, refrigerate because it only gets better with time. You can easily make this cake two days in advance. The cake absorbs moist fillings like custard or whipped cream and makes them perfectly moist!
Tips
*To make this cake egg-free, substitute 2 tablespoons of liquid from a can of cannellin beans for each egg white and 1 tablespoon butter or other fat for each egg yolk.