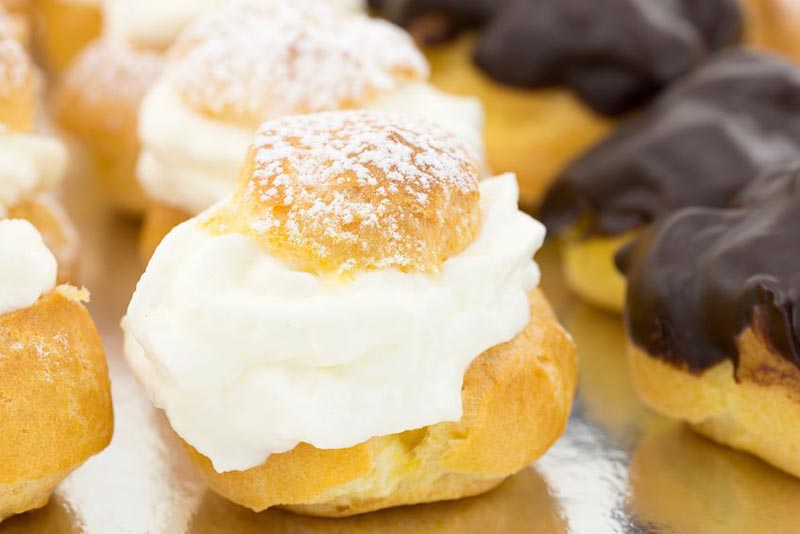
To garnish fancy cakes like Saint Honore and other Italian/Sicilian and French cakes as well as savory appetizers, this recipe teaches you how to make mini gluten free cream puffs as well as a little larger. You’ll also learn how long to bake these gems depending upon their size. This recipe ensures a high rising cream puff as well.
Note: When you use silicone baking mats, the cream puffs are golden brown on the bottom. When you use parchment paper, the bottoms turn out slightly too brown.
Mini Gluten Free Cream Puffs

The perfectly baked mini gluten free cream puffs for any use. They don't easily soften and nicely hollowed.
Ingredients:
- 1/2 cup Carla's Gluten Free All-Purpose Flour Blend Recipe (67g)
- 1 teaspoon organic evaporated cane juice (or sugar)
- 1/16 teaspoon salt
- 4 tablespoons (1/2 stick) unsalted butter (2 ounces) (or Earth Balance dairy-free spread)
- 1/2 cup water
- 3 large eggs, at room temperature
- Confectioners' sugar (optional)
- Melted gluten free chocolate (optional)
- Whipped cream
Instructions:
- Preheat the oven to 425°F. If you're good at piping, line two baking sheets with silicone baking mats or parchment paper. If you're not good at piping out dough so that each cream puff will be the same size, measure out a piece of parchment paper that will fit on a baking sheet. Draw 1 to 1-1/2-inch circles using a pencil on one side spacing about 2-inches apart. Be sure to draw the circles nice and dark so that you will be able to see them from the other side. Place the pencil drawn side on the bottom of the baking sheet so that the dough doesn't touch them.
- In a medium-sized saucepan, add the water, butter, sugar, and salt; bring to a boil.
- Remove from heat, add the flour blend,; using a sturdy wooden spoon, immediately and rapidly stir until the dough comes together to form one mass. Transfer to the dough to the bowl of your mixer and allow to cool for 2 minutes.
- Beat on high speed for 2 minutes to continue to cool.
- Add the eggs one at a time, beating 1 to 2 minutes after each addition (1 minute for a half batch; 2 minutes for a full. (This is based on the use of a 350 watt KitchenAid mixer. You should beat for a longer period of times for hand mixers).
- Transfer the dough to a piping bag or ziplock storage bag. Cut a 1/2-inch off of one of the tips. Pipe onto the prepared baking sheets either 1 or 1-1/2-inch diameter circles using the pencil drawings underneath the sheet as a guide. Smooth out any peaks that form on the top with a wet finger.
- Bake at 425°F for 10 minutes; lower the heat to 350°F for 20 minutes. Lower the heat to 200°F and bake for an additional 10 minutes. For dough that was piped out to 1-1/2 inches, you'll probably need to stay in the oven with the oven turned off for about another 10 minutes. To test for doneness, using a sharp knife, pierce one on its side, near the bottom. When it comes out clean it is done.
- Remove cream puffs from oven; remove from baking pan and place on a cooling rack until completely cooled and are dried out, overnight is best.
- Slice off the top third; remove some of the heavier, moist dough from the tops and bottoms; and fill with your favorite filling. Do not fill until ready to serve. Once filled, add tops back on.
- Top with confectioners' sugar or dip in melted chocolate. To melt chocolate, melt in a glass bowl over a pot of simmering water.
© Copyrighted 2009 - 2016. Wilkins Publishers. All rights reserved. All content, photos and images are copyrighted by us or their respective owners. You must obtain permission by their owners before using any of them.

